
Oven cleaning is one of those tasks that most people put off until something forces their hand, usually smoke, a smell, or company coming for the holidays. By then, the grease and spills inside have been through dozens of heat cycles, which turns them into something closer to carbon than food residue. Regular cleaning methods often can’t touch it.
The self-clean cycle sounds like the obvious answer. So do baking soda and vinegar, if you prefer a natural approach. Store-bought oven sprays are another option. All three are popular. All three have real drawbacks that most people don’t find out about until after something goes wrong.
This is a breakdown of how each method actually works, where each one fails, and what a proper oven cleaning looks like when you do it in the right order with the right products.
Why Oven Grease Gets So Hard to Remove
Fresh grease is easy to wipe off. Grease that has been through a 400-degree roast is not the same substance. Heat polymerizes cooking fats, which means the fat molecules bond together and to the oven surface in a way that forms a hard, plastic-like layer. The longer it stays and the more heat cycles it goes through, the denser and more chemically inert that layer becomes.
This is why wiping out an oven with a damp cloth after every use makes the job genuinely easy and why cleaning an oven that hasn’t been touched in six months requires actual effort. The difference isn’t just time. It’s chemistry.
The same logic applies to the oven door glass, the rack support rails, and the area around the heating element. Each surface type has slightly different buildup and responds differently to cleaning products.
The Three Common Methods, and What Each One Actually Does
The self-clean cycle
The self-clean function heats the oven to around 900 degrees Fahrenheit, which incinerates food residue and turns it to ash. In theory, you wipe out the ash when it’s done and the oven is clean. In practice, several things complicate this.
What works: it handles light to moderate buildup without any products or scrubbing.
What doesn’t work:
- Heavy grease deposits don’t always burn off completely. They can smoke heavily or, in some cases, produce enough heat inside the oven cavity to damage the door seal or the heating element.
- The cycle runs two to four hours and generates significant heat and fumes. Birds are particularly sensitive to the fumes from self-clean cycles. Anyone with respiratory issues should leave the area.
- Self-clean cycles put the oven under considerable thermal stress. Repeated use accelerates wear on the thermostat, the door gasket, and the control electronics.
- The oven racks should always be removed before running a self-clean cycle. The extreme heat can warp them and damage the finish that allows them to slide smoothly.
Baking soda and vinegar
The baking soda and vinegar approach is popular because it uses products people already have and avoids the fumes from commercial oven cleaners. The method typically involves spreading a paste of baking soda and water across the oven interior, leaving it overnight, then spraying with vinegar to create a fizzing reaction and wiping everything out.
What works: it’s safe, produces no fumes, and handles light grease and fresh spills reasonably well.
What doesn’t work:
- Baking soda is a mild abrasive and a mild base. It doesn’t have the chemical strength to break down polymerized grease. On a heavily soiled oven, it removes the loose surface layer but leaves the bonded carbon deposits behind.
- The fizzing reaction between baking soda and vinegar is mostly theater. By the time the vinegar hits the baking soda paste, both have been neutralized. The reaction produces carbon dioxide and water, which has little cleaning effect on its own.
- The paste leaves a white residue that requires multiple rinse wipes to remove fully. On textured oven floors or around the heating element, it can be difficult to get out completely.
Store-bought oven sprays
Commercial oven cleaners, particularly heavy-duty formulas, use lye (sodium hydroxide) or caustic soda to saponify grease, which means they chemically convert fat into a soap that can be wiped away. They work. On badly carbonized grease, nothing else comes close.
What works: effective on even heavy, baked-on deposits when used correctly.
What doesn’t work or requires care:
- Lye-based sprays are caustic. Skin contact causes burns. They require gloves, eye protection, and ventilation.
- They should not be used on self-cleaning oven surfaces. The coating on self-clean interiors reacts badly with caustic chemicals and can be permanently damaged.
- They should not contact the heating element, the broiler element, or any exposed wiring.
- Most standard sprays leave a strong chemical smell that lingers through the first few uses of the oven after cleaning. Running the oven empty at high heat for 15 to 20 minutes after cleaning helps burn off the residue.
A Better Option for Most Households
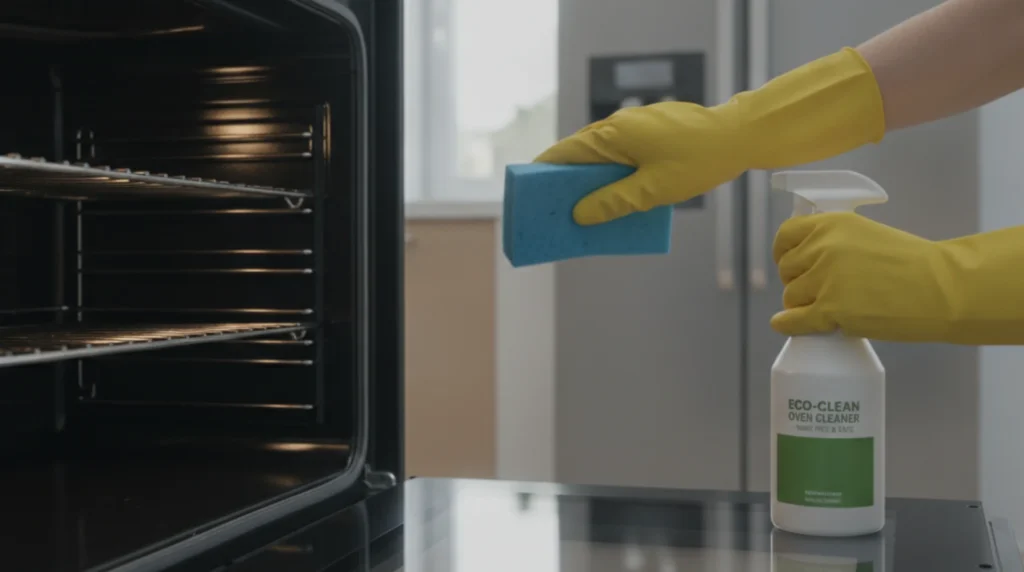
For regular maintenance and moderate buildup, a fume-free oven cleaner is usually the right call. Products in this category use a different chemistry than lye-based sprays, typically a combination of surfactants and mild alkalis, which loosens baked-on grease without the caustic hazards or the lingering smell.
Goo Gone Oven and Grill Cleaner is one product in this category that professional cleaning crews use for oven work. It handles grease and carbon buildup on oven interiors, oven door glass, grill grates, and burner drip pans without requiring gloves or ventilation warnings. It doesn’t produce the fumes that make lye-based products difficult to use in an occupied home, and it doesn’t leave the kind of chemical smell that lingers into the next several meals.
It isn’t a substitute for a heavy-duty caustic cleaner on an oven that hasn’t been cleaned in years. For that kind of job, the buildup may need a stronger product on the first clean, and then a maintenance approach going forward. But for most household ovens cleaned on a reasonable schedule, fume-free formulas do the work without the drawbacks.
How to Clean an Oven Properly: Step by Step
The order matters as much as the products. Skipping steps or doing them out of sequence is why cleanings that take an hour produce results that look like they took twenty minutes.
- Remove the racks. Take all racks out before doing anything else. Clean them separately in the sink or bathtub with hot water, dish soap, and a non-scratch scrub pad. For heavily soiled racks, soaking for 30 to 60 minutes first makes the scrubbing significantly easier.
- Let the oven cool completely. Never apply cleaner to a warm oven. Heat causes most cleaners to evaporate too quickly to be effective, and it increases fume production.
- Remove loose debris. Use a dry paper towel or a soft brush to clear out any loose ash, crumbs, or large food debris from the oven floor before applying any cleaner. Wet cleaner applied on top of dry debris just turns into a paste that’s harder to remove.
- Apply the cleaner. Coat the oven interior with your chosen cleaner, working from the back wall forward. Pay particular attention to the corners, the oven floor, and the underside of the top element. Avoid the heating elements themselves, the door seal, and any exposed wiring or sensors.
- Wait. This is the step most people cut short. Most oven cleaners need 20 to 30 minutes minimum to break down bonded grease. For heavy buildup, leaving the cleaner for several hours or overnight produces dramatically better results than wiping it off after five minutes. The cleaner is doing the chemical work so you don’t have to do it mechanically.
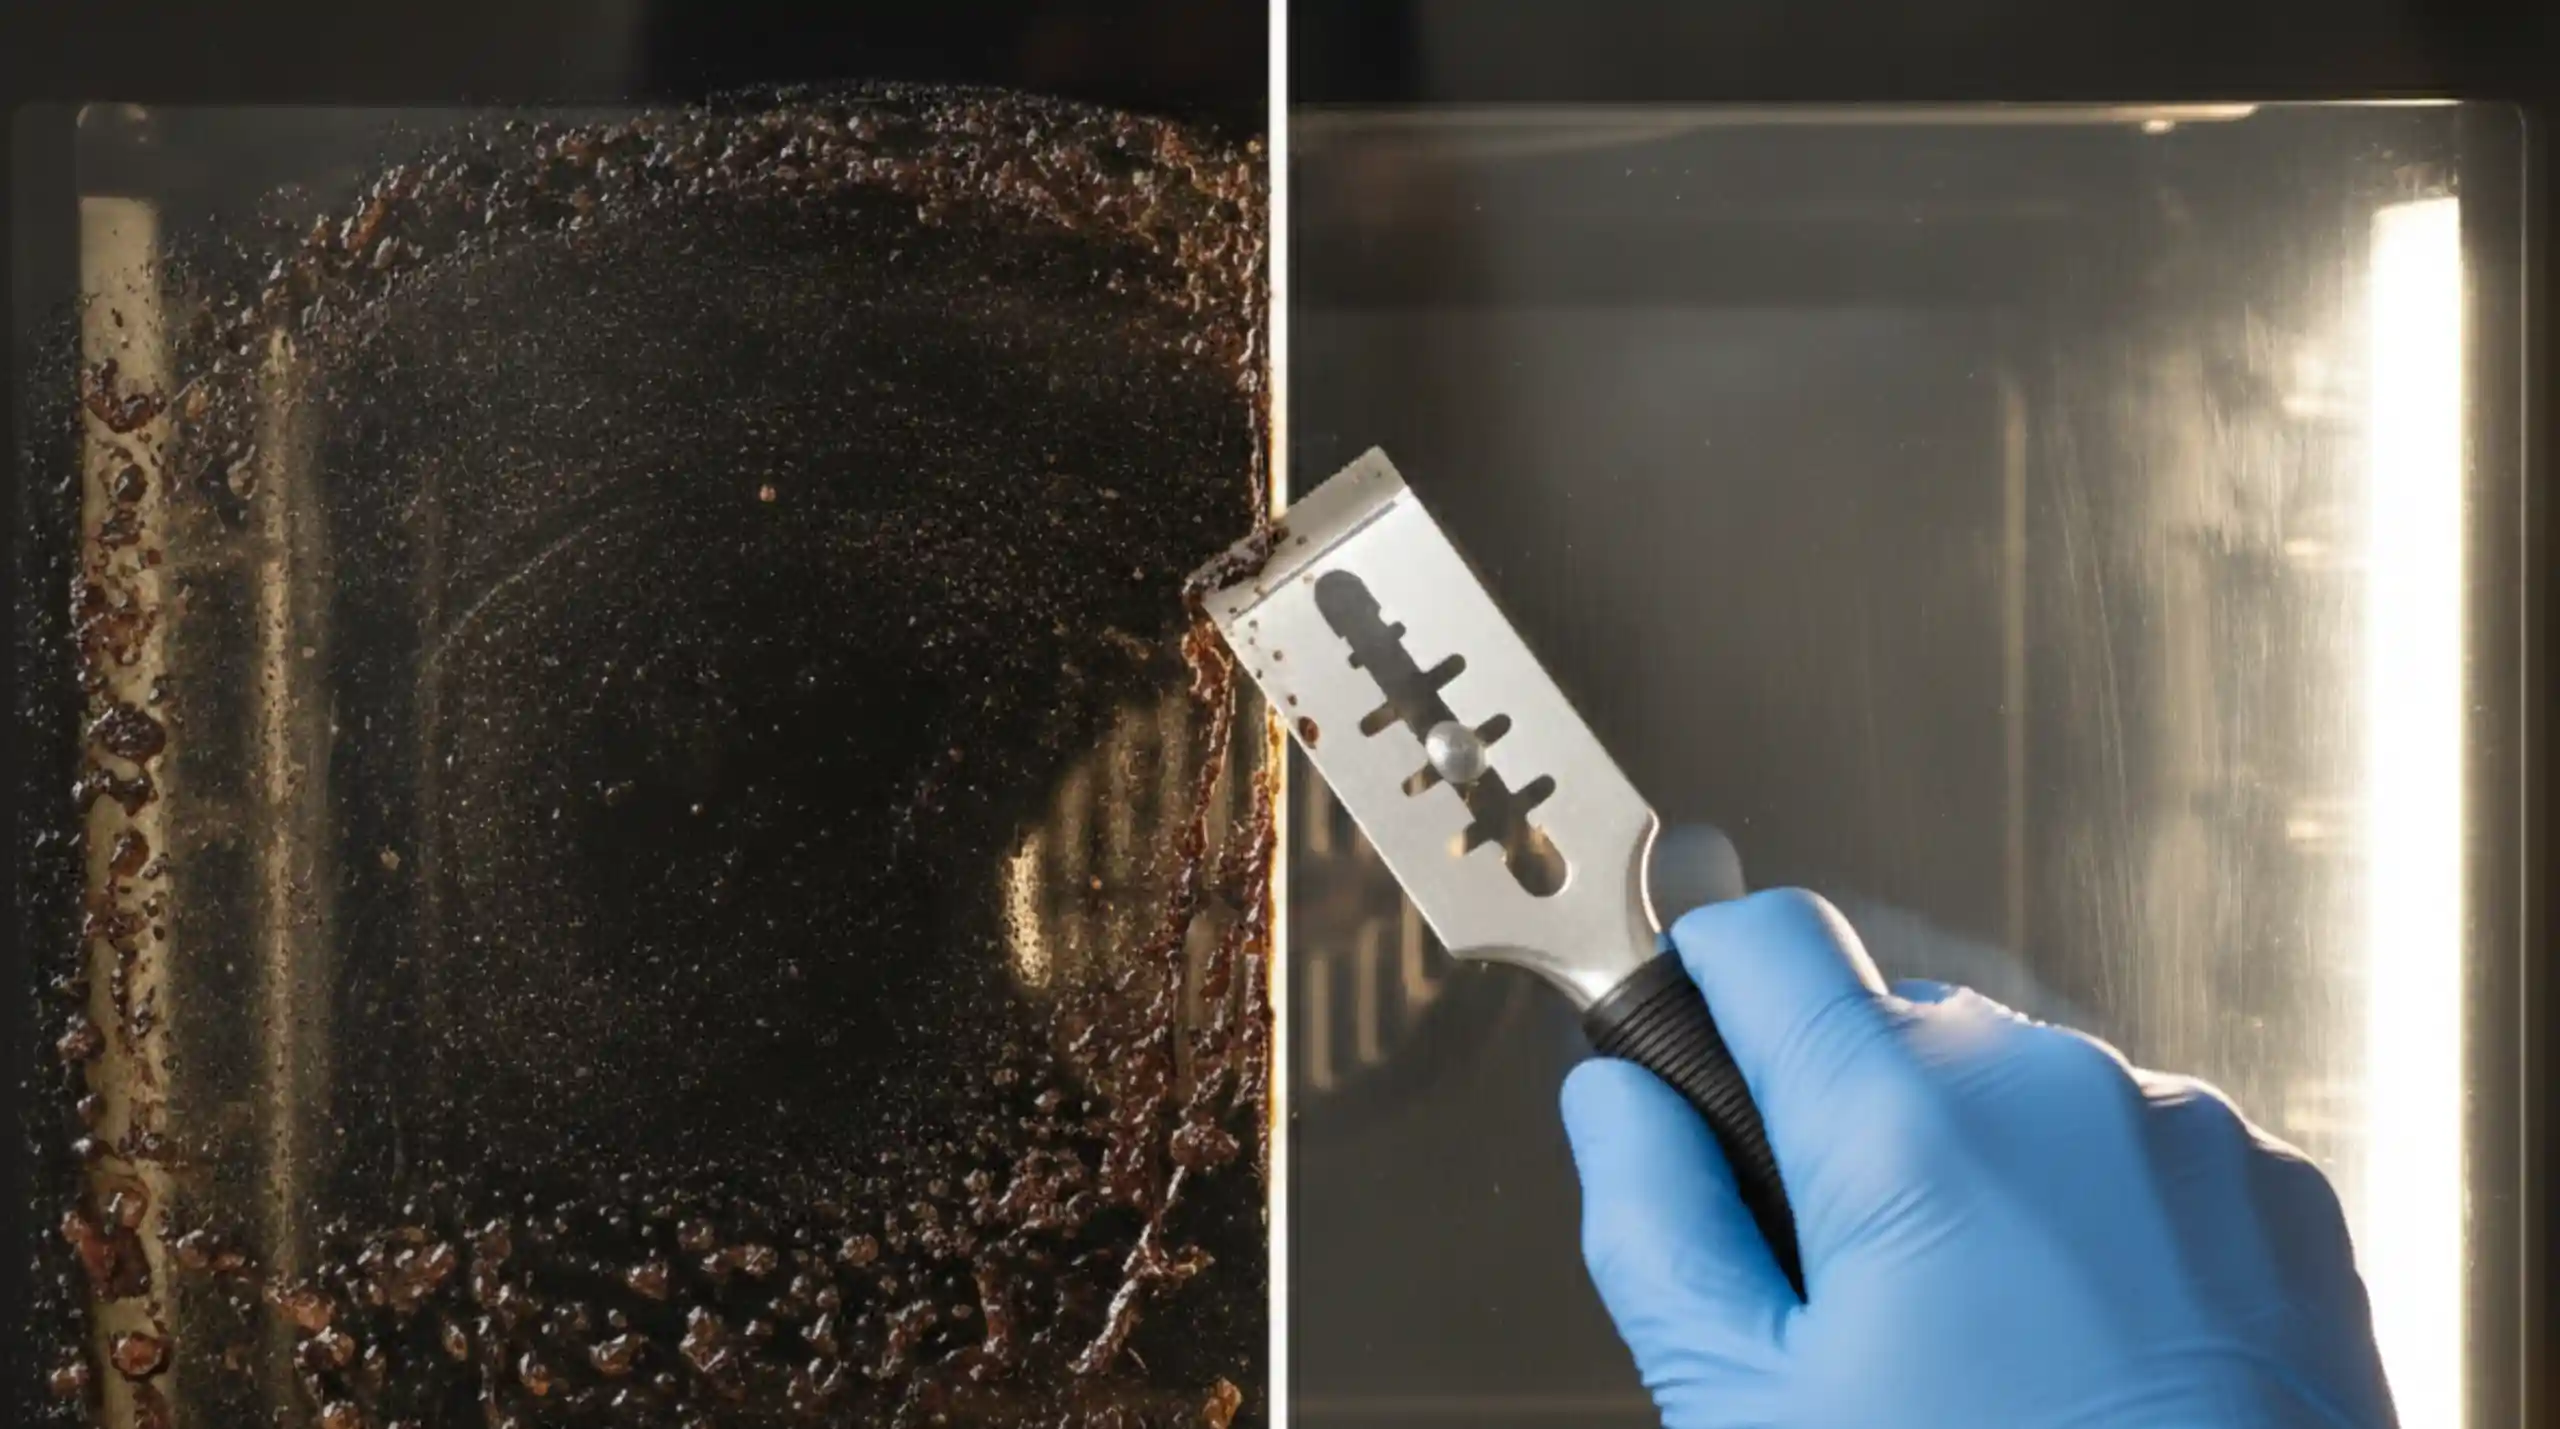
- Scrub with the right tool. A non-scratch scrub pad handles most of the interior. A stiff-bristle brush works better on textured surfaces and corners. For the oven door glass, a razor scraper held at a low angle removes carbonized grease without scratching the glass, which nothing else does as effectively.
- Wipe out the cleaner thoroughly. Use damp cloths and work in sections, rinsing the cloth frequently. Cleaner residue left on the oven interior will smoke when the oven heats up. Multiple wipe passes with clean water are worth the extra time.
- Clean the oven door separately. The door glass gets its own treatment. Apply cleaner, let it dwell, then use the razor scraper for carbonized spots and a microfiber cloth for the rest. The door frame and handle get wiped down with a general degreaser.
- Dry the oven before replacing racks. Leave the door open for 15 to 20 minutes to let any moisture evaporate. Then replace the racks and run the oven empty at 300 to 350 degrees for 10 to 15 minutes. This burns off any remaining cleaner residue and confirms everything is clear before you cook in it.
- Clean the exterior and knobs last. Wipe down the oven exterior, control panel, and knobs with a damp microfiber cloth. For stainless steel, wipe in the direction of the grain. Avoid getting moisture into the control panel gaps.
How Often an Oven Actually Needs Cleaning
For a household that cooks regularly, a full oven clean every three to four months keeps buildup from reaching the stage where it requires heavy effort. A quick wipe of the oven floor after roasting or baking anything that splattered, done while the oven is still slightly warm, takes two minutes and eliminates most of the accumulation between deep cleans.
Before major cooking events, like Thanksgiving, a summer barbecue season where the oven runs frequently, or any time guests are coming and the oven will be used heavily, a clean beforehand is worth scheduling. An oven with buildup smokes at high temperatures. It also affects the taste and smell of food cooked inside it, which is more obvious to guests than it is to people who’ve gotten used to the gradual buildup.
The oven racks, drip pans, and broiler pan often need attention more frequently than the oven interior. These surfaces collect grease faster and in larger quantities. Soaking them in hot soapy water after particularly messy cooking sessions keeps them manageable.
The Short Version
The self-clean cycle is hard on the oven. Baking soda paste doesn’t have the chemical strength for real buildup. Lye-based sprays work but require care and ventilation. Fume-free degreasers handle most household ovens well and are the practical choice for regular cleaning.
The single biggest variable in oven cleaning isn’t the product. It’s the dwell time. Applying cleaner and waiting long enough for it to do its job before scrubbing is what separates a clean oven from one that looks roughly the same as before you started.
If oven cleaning is part of a move-out clean, a deep clean, or a pre-holiday service, it’s included in our deep cleaning scope. Irene Cleaning Service serves Grapevine, Southlake, Colleyville, Coppell, Flower Mound, and surrounding DFW communities. To book a service or ask about what’s included in a deep clean, call 817-442-6112 or visit ireneservices.com.