
Wood furniture is one of those things that look better the more you take care of them and noticeably worse the moment you use the wrong product. A dining table that gets wiped down with an all-purpose spray every week will start showing streaks, clouding, or worn patches faster than one that gets the right treatment less often.
The finish on wood furniture, whether it’s polyurethane, lacquer, oil, or wax, is what protects the wood underneath. Once that finish is compromised, the wood itself becomes vulnerable to moisture, staining, and wear. Getting the cleaning routine right is mostly about understanding what you’re working with.
Here’s a practical breakdown of what works, what doesn’t, and how professional cleaners approach wood furniture during a home clean.
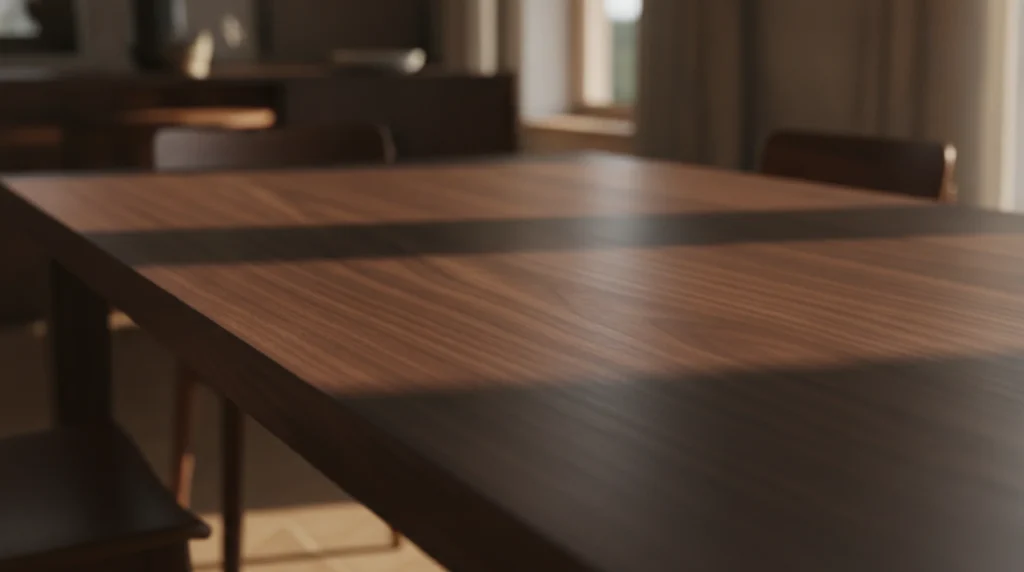
Know Your Finish Before You Clean Anything
Not all wood furniture is finished the same way, and the type of finish determines what cleaning products are safe to use. Using the wrong one isn’t just ineffective. It can permanently dull or strip the surface.
Sealed finishes (polyurethane, lacquer, varnish)
Most modern wood furniture has a sealed finish, which means there’s a protective layer sitting on top of the wood. These surfaces are relatively forgiving. A slightly damp microfiber cloth handles dust and light grime without issue. The risk here is using products that contain alcohol, bleach, or ammonia, which can break down the clear coat over time.
Oil-finished and wax-finished wood
Furniture finished with tung oil, linseed oil, or wax has no surface coating. The finish is inside the wood. These pieces need different care: regular reapplication of the original finish type and no water-based cleaners that can raise the grain or cause swelling.
Unfinished or raw wood
Raw wood absorbs everything. Moisture, oil, and cleaning products all go straight into the fibers. For unfinished wood, dry dusting is almost always the only safe option. Any liquid treatment should be specifically designed for unfinished surfaces.
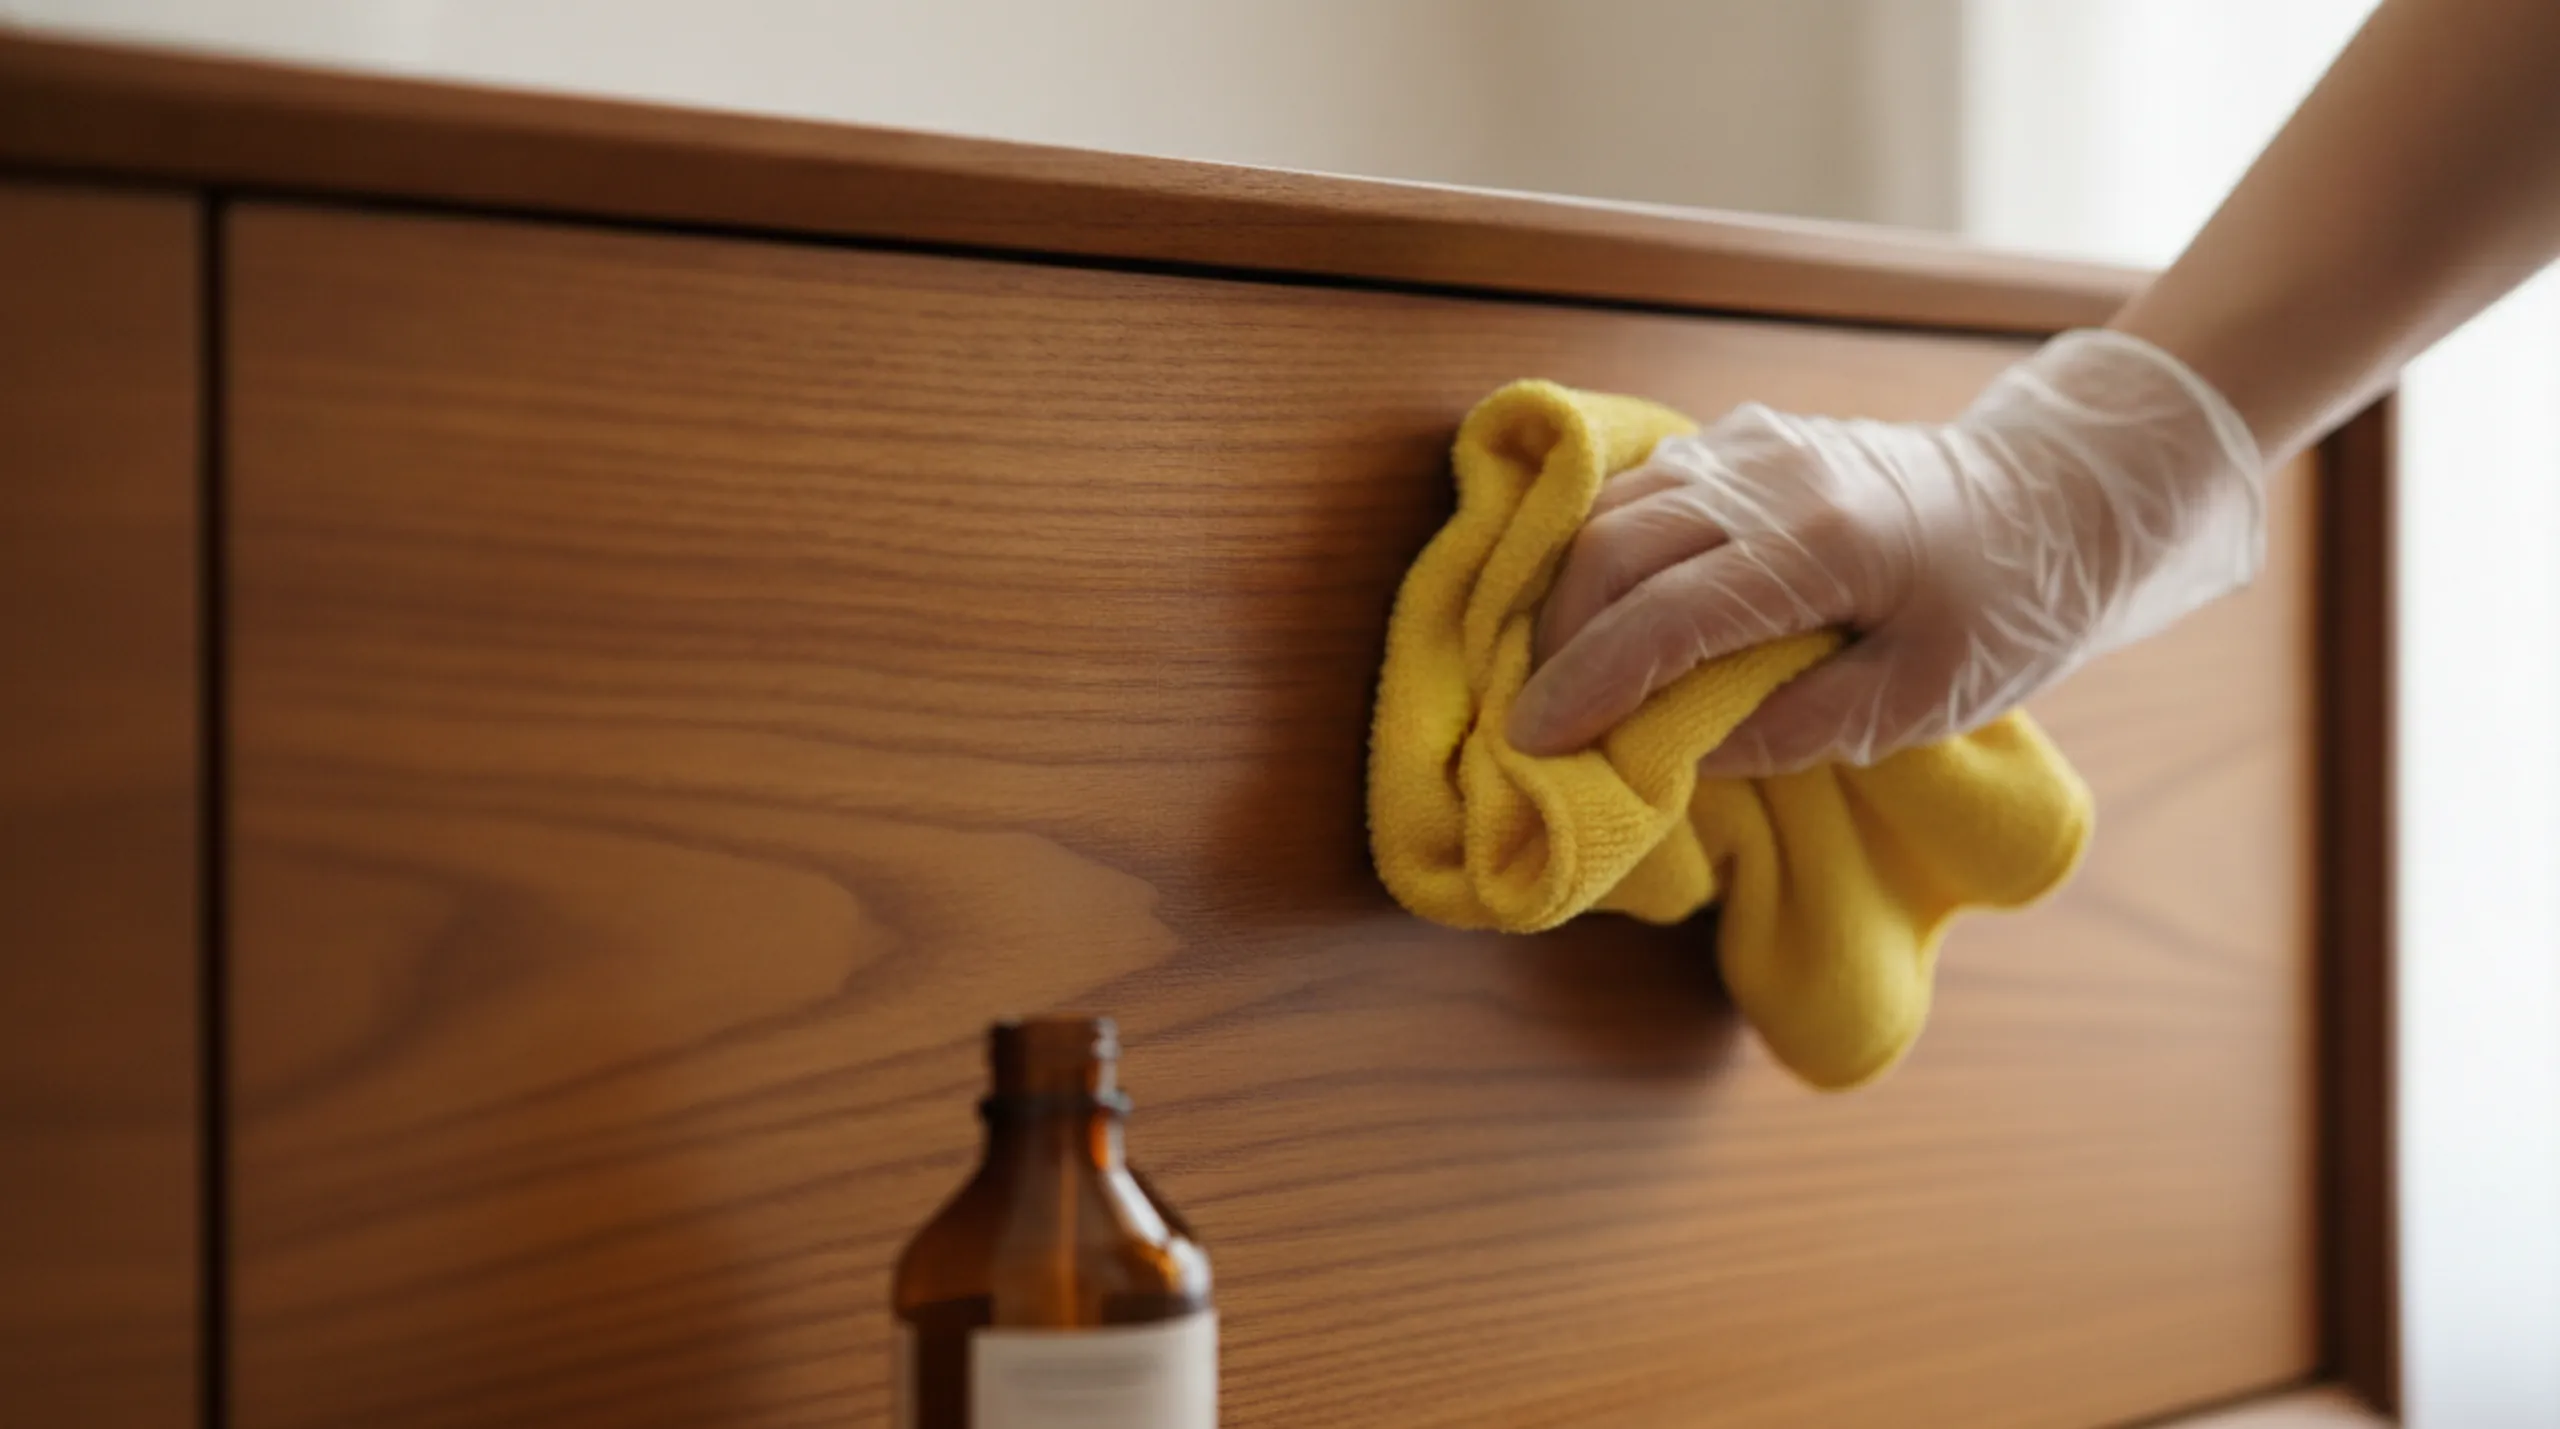
What to Use on Finished Wood Furniture
Dry microfiber dusting as the baseline
For routine maintenance, dry microfiber is the safest and most effective tool. It picks up dust without scratching the surface and doesn’t leave fibers behind. A quick pass once or twice a week keeps buildup from compounding and reduces how often a deeper clean is needed. Avoid feather dusters, which just redistribute dust rather than removing it, and paper towels, which can be abrasive on finished surfaces.
A cleaner-and-polish combination for deeper cleaning
When furniture needs more than dusting, a product designed specifically for wood surfaces does the work that general-purpose sprays can’t. The right cleaner lifts grease, fingerprints, and grime without attacking the finish. A polish or conditioner applied afterward repels dust and restores the surface’s sheen.
One product that shows up in a lot of professional cleaning kits is Orange Glo Wood Furniture 2-in-1 Cleaner and Polish. It combines a cleaner with a conditioning polish in a single step, which keeps things straightforward. The orange oil base is gentle on sealed finishes, cuts through grease and wax buildup, and leaves a light protective layer without making surfaces feel greasy or heavy. It also works on laminate, vinyl, and fiberglass, which makes it practical for mixed-material furniture.
That said, it’s worth testing any cleaner on an inconspicuous area first, especially on older or antique pieces where the finish type isn’t obvious. Apply a small amount to the underside of a drawer or the back of a leg and wait a few minutes before proceeding.
How to apply it correctly
The application method matters as much as the product itself:
- Use a soft cloth, not a spray-and-wipe motion directly on the surface. Apply the product to the cloth first, then work it into the wood in the direction of the grain.
- Use as little product as possible. A thin, even application cleans and conditions better than a heavy one. Excess product sits on top of the finish and attracts dust faster.
- Buff dry with a clean, dry cloth after applying. Don’t let any cleaner or polish air-dry on the surface.
- For heavily soiled areas, a second pass with a fresh cloth is better than more product on the first pass.
What to Avoid on Wood Furniture
A few common cleaning habits do more damage than the dirt they’re removing:
- All-purpose sprays. Products like multi-surface kitchen cleaners often contain water, alcohol, or ammonia. They’re fine on countertops and appliances, but repeated use on wood strips the finish and raises the grain.
- Wet cloths. A cloth that’s damp is fine. A cloth that’s wet is not. Standing moisture on wood, even sealed wood, works its way into joints and edges and causes swelling over time.
- Silicone-based polishes. Products like Pledge leave a silicone film that builds up with each application, making the surface look good short-term but creating a hazy buildup that’s difficult to remove and can interfere with refinishing down the road.
- Vinegar solutions. Diluted vinegar is popular as a natural cleaner, but it’s acidic. On sealed wood, regular use gradually dulls the finish. On waxed or oiled wood, it strips the protective layer entirely.
- Scrubbing pads or abrasive cloths. Even light scratching on a finished surface creates micro-abrasions that trap dust and dull the sheen over time.
Specific Surfaces Worth Knowing About
Dining tables
Dining tables take more abuse than most other wood furniture: food, drinks, heat from dishes, and cleaning products from other surfaces that get wiped down in the same session. Wipe spills immediately with a dry cloth, use placemats and trivets consistently, and clean with a wood-specific product rather than whatever’s on the kitchen counter. The table finish takes most of the impact and, if maintained, protects the wood underneath for decades.
Wood cabinets and doors
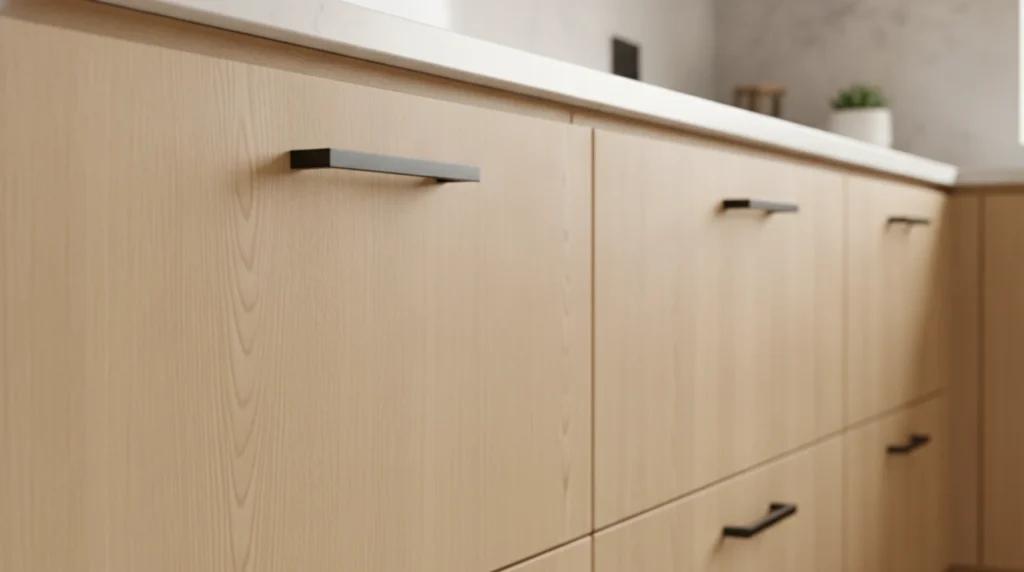
Kitchen cabinets accumulate grease and cooking residue over time, which changes what cleaning approach makes sense. A degreasing wood cleaner handles this better than a straight polish. The areas around handles and pulls, where hands make repeated contact, build up oils and grime that need more attention than the flat panel surfaces. Clean those spots separately rather than treating the whole cabinet door the same way.
Antique and older furniture
Older pieces, especially anything pre-1950, are more likely to have shellac or lacquer finishes rather than polyurethane. These finishes are more sensitive to alcohol and water than modern ones. When in doubt, dry-dust and avoid liquids entirely until you can identify the finish. A furniture restorer or antique dealer can usually identify the finish type from a quick look.
How Often Wood Furniture Actually Needs Cleaning
Most wood furniture in a regularly occupied home needs a full cleaner-and-polish treatment two to four times a year. More than that, and you risk product buildup. Less than that, and grime bonds to the finish in ways that take real effort to remove.
Between those deeper treatments, a dry microfiber wipe two or three times a week is usually enough to keep surfaces looking well-maintained.
The exception is high-use surfaces, like dining tables and kitchen cabinets, which may need a light clean with a wood-safe product every couple of weeks depending on how much cooking and eating happens in the space.
One thing that gets missed: the underside and back of furniture pieces. Dust accumulates there too, and in humid climates, it can create conditions for mold growth if left long enough. A thorough clean that includes those areas, even just once or twice a year, makes a difference.
The Short Version
The finish on wood furniture is doing a job. Cleaning products that work fine on other surfaces in your home can strip or dull that finish without any obvious sign until the damage accumulates. Using a cleaner designed specifically for wood, applying it sparingly with a soft cloth, and buffing dry afterward is the whole routine.
When professional cleaners work through a home, wood furniture gets handled separately from countertops, appliances, and glass. The products are different, the cloths are different, and the method is different. That’s not extra effort. It’s just using the right tool for the material.